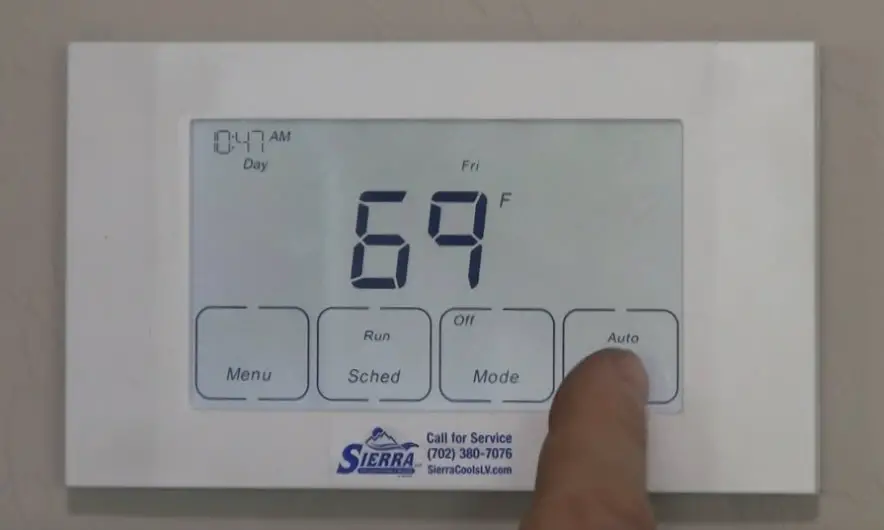
If you’re using a Trane unit with a touch screen thermostat, you will benefit from the effortless use of your AC unit. However, as with every other electronic device, issues can occur from time to time. When the touch screen loses its calibration, you won’t be able to use it properly, and the system will perform poorly.
How to calibrate a Trane thermostat’s touch screen?
To calibrate the Trane thermostat touch screen, you will need to reboot the thermostat and calibrate the screen while rebooting. Expect the reboot process to take several minutes. Also, make sure that your AC unit doesn’t run when you reboot the thermostat.
Begin the rebooting of the thermostat out of calibration by turning the power off at the circuit breaker. Follow the next step for proper calibration:
- Identify the proper circuit. Typically, the thermostat is placed on the same circuit as the air handler or the furnace.
- Continue with flipping the switch for the circuit to the OFF position. Please wait for 10 seconds (at least) before turning it to the ON position.
- While the thermostat is rebooting, you will notice the screen asking you if you want to calibrate the touchscreen. Simply press the Start button when you see the page and follow the instructions.
Why is the calibration of the thermostat touch screen important?
Adequate calibration of the touch screen to the display is crucial for touch precision. You want your AC unit to respond according to the button you press at the moment and not to the one next to it. Additionally, some sensors are less linear than others.
Five-wire sensors present an inherent non-linear edge. While you activate along the border, the natural controller answer would take the cursor in a bowed line. The bowed edge will lead to significant inaccuracies, especially on a system with large-sized sensors. The calibration routine should include edge correction in the algorithm. Typically, the edge correction is managed through a calibration routine that consists of processing controller data when the sensor is activated along the edge. You can do it by putting calibration targets along the sensor’s edge. Also known as the “linearization,” the process manages the inherent bowing of the 5-wire sensor and makes the controller’s answer linear when it activates along the edge.


