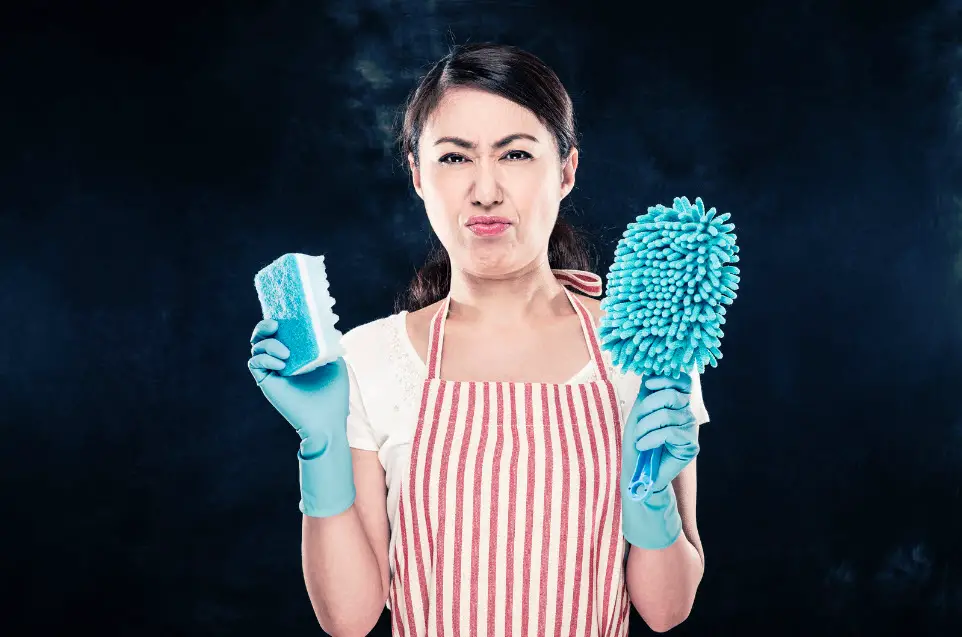
If you’re a tenant and your tenancy is coming to an end, you’ll need to pack up your things and clean the property before handing back the keys. Here are some tips on how to do it effectively.
The first thing you should do is get rid of any rubbish left lying around – this includes anything broken or damaged that needs replacing. You might also want to consider decluttering if there’s too much stuff in the house for it not to be cluttered. Make sure all surfaces are wiped down, including inside cupboards and drawers so that they’re free from dust when new tenants move in. There may be some cleaning tasks best left until after final inspection by the landlord such as deep cleaning carpets or polishing floor boards.
Page Table of Contents
Do the end of tenancy cleaning yourself
The best way to ensure your deposit is safe is to do the cleaning yourself. Hiring a professional cleaning service will cost you extra cash that you’d probably rather spend on something else, not to mention that you may need references from the person or company that cleaned for you if there are any disputes about condition when you leave.
Before starting your cleaning, make sure to contact the Property Owner or the Letting Agent and ask for the final inspection checklist. A checklist of what needs to be cleaned, will help you keep track of your cleaning. Remember that if you have any arguments about the condition upon leaving, it’s best to contact the company or person who did the cleaning work for you.
If your tenancy has been managed by a property agency or letting agent, they may well offer a ‘tenancy clean’ service as part of their fees – but don’t automatically assume this is anywhere near as thorough as doing it yourself. Many agencies only come and wipe down appliances (so check for streaks), do one round with a duster and give things a quick once over in places where there’s no risk of damage – like walls. So better get to work and start that cleaning!
Deep Clean the kitchen
The hardest room of the house during end of tenancy cleaning normally is your kitchen as that’s where a lot of dirt-producing activity takes place. In order to make your kitchen spotless, you need the following.
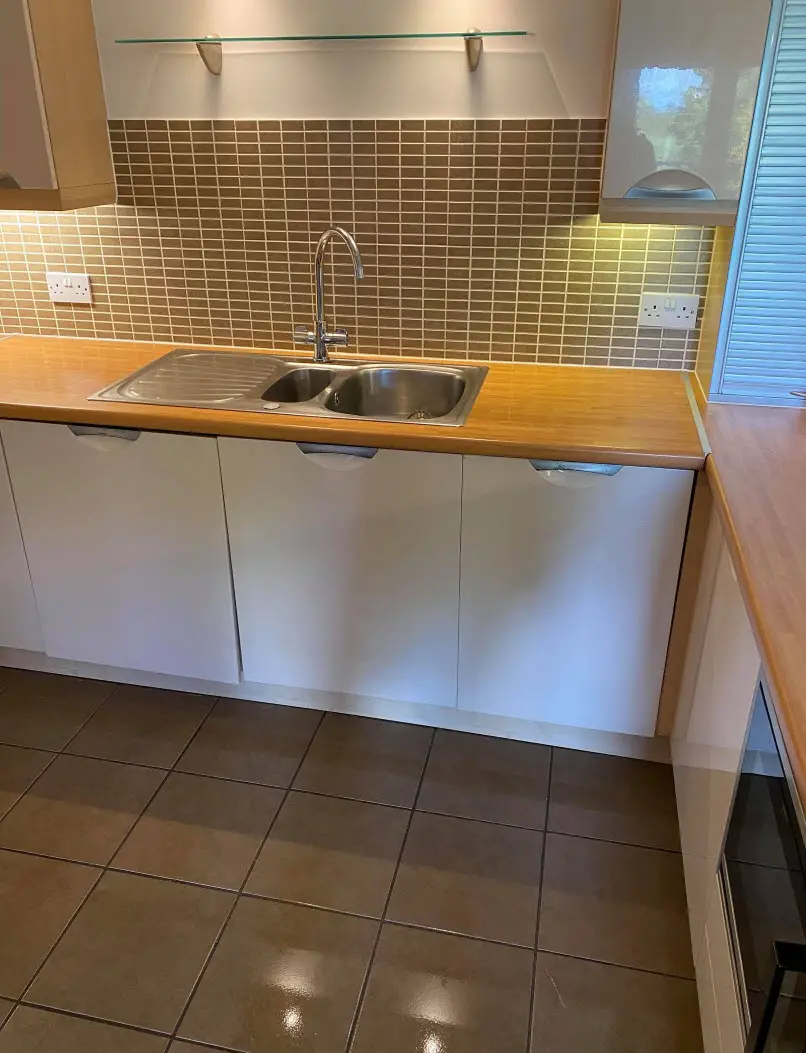
Wash the floor thoroughly, scrubbing in corners and around appliances to remove all stains. Clean the walls, window sills and cabinets and make sure that everything is spotless and shining. It’s worth spending a little extra time on this room as it raises the standard of the whole property.
Clean The Hob, Oven and other Appliances
Clean the hob and all other kitchen surfaces thoroughly, paying special attention to appliances like the toaster and coffee percolator. This way you can avoid unpleasant surprises in case they decide to throw a spot check on your cleaning skills.
You’ll have to remove all removable parts from the oven before you start, as that’s how you can pick up every last bit of dirt! Just get a soft cloth and some oven cleaner and put on rubber gloves (you don’t want any chemicals getting on your hands!) or use an oven mitt. You want to clean the oven by removing all racks, scrubbing them and letting it dry before putting back.
Then you need to do the same job with the microwave (removing inside turntable). Lastly, wash the toaster and other small appliances.
Then wipe down all surfaces using the mentioned products. Pay special attention to the knobs, buttons etc. Next step is to clean inside the ventilation ducts with a long-handled brush!
Clean The Tiles
All floors need to be washed thoroughly with soap and hot water. Pay close attention to corners, behind radiators and underneath furniture – these are often forgotten but dirt lurks there! Cleaning grout lines is another important step that ensures the whole property looks professional. Use bleach or baking soda and vinegar if you have tough stains to get rid of. Don’t forget about windows, either – this easy-to-miss step makes a big difference! While washing windows don
Clean those windows
Don’t forget about windows, either – this easy-to-miss step makes a big difference! While washing windows don’t forget to check them for dust and wipe it off – just regularly cleaning these surfaces will prevent lots of nasty problems.
Clean The Living Room
Cleaning the living room to fit the requirements for end of tenancy includes vacuuming all carpets, cleaning the curtains and window sills. Vacuum the floor thoroughly, using the upholstery tool for chairs and stools to get into corners and edges of carpets. After you’re done with vacuuming, use a damp cloth to clean marked spots or spills in order not to ruin your vacuum cleaner. Next step is to dust shelves and light fixtures after which you should clean the windows from inside (in case there are no curtains) using a lint-free cloth dipped in water with vinegar added to it – don’t forget about window ledges!
Cleaning The Bathroom
If you’re looking forward for some extra tips on cleaning the bathroom during end of tenancy cleaning , try these: after dusting and vacuuming, clean mirrors using vinegar-water mix or glass cleaner. When it comes to showers and bathtubs, fill them with water before you start scrubbing (make sure that the water is not too hot). After that use a mild solution of bleach and water in the bathtub if required. Finally, wipe off remaining moisture with a cloth dipped in warm soapy water followed by rinsing with clean tap water and drying with another dry cloth.
Clean Shower And Tubs
This is another easy step and a good one because your landlord can see how well you keep up with upkeep of bathroom surfaces. Here’s how to clean the shower and tub:
Clean the outside of the shower with a damp cloth. Use one cup of bleach in two gallons hot water to clean the inside of it (make sure you wear rubber gloves!). For tub, make several bowls filled with baking soda and vinegar. Then add hot water and let them soak for half an hour before scrubbing. After that, empty all the bowls and rinse well.
Cleaning The Toilet And Sink
Vinegar is great cleaner! You can use it to clean toilet bowl and sink without any assistance from other products! It’s cheap, safe and really efficient – especially for ceramic toilets! Start by using a toothbrush dipped in vinegar on small imperfections around your bathroom. Wait 15 to 20 minutes before scrubbing the surface with a non-abrasive cleanser.
Deodorise the toilet
Scrub your toilet bowl clean, but be careful of pipes behind – better not to spray too close or force water into them – just use soft bristles or a rag with some bathroom cleaner (but without bleach). Then disinfect it with some odour neutraliser/deodoriser for good measure. Be sure to check how long-lasting these products are before you pick one out!


