If you're looking to fix or replace your Heating or A/C system, we can connect you with a reliable and cost-effective professional in your area.
Page Table of Contents
How to Make a Gas Valve Replacement
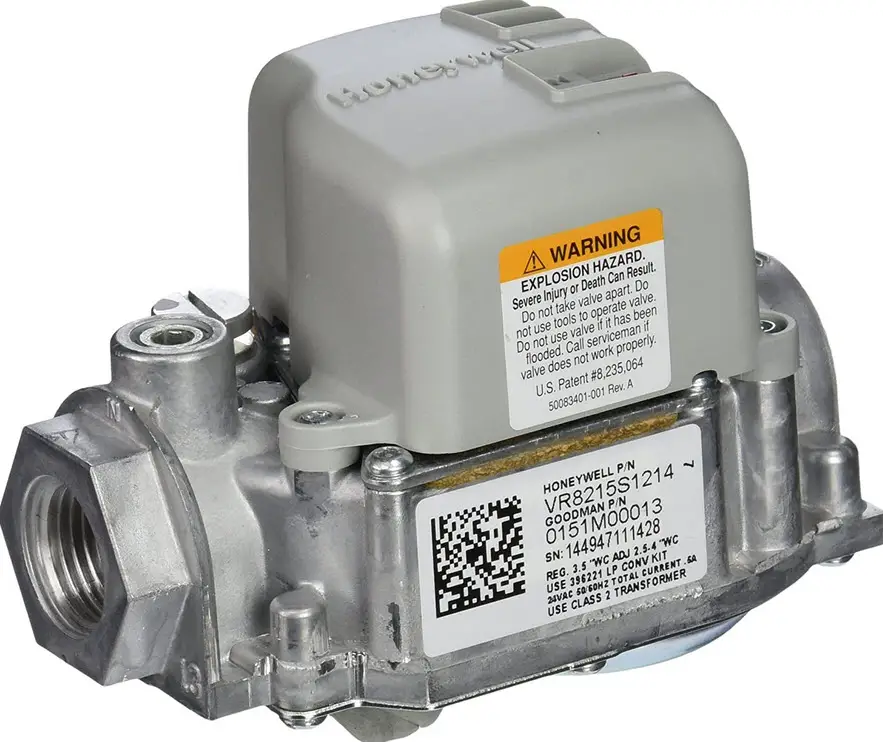
The furnace gas valve is an element of the furnace’s fuel system. It has to open and to close, allowing the gas flow to the pilot light and burners. It’s not a complicated device, but it’s essential for the furnace, so any issues with it will affect your furnace’s operation.
When the gas valve is malfunctioning (not opening, for instance), it will not provide the burners the right quantity of fuel. A gas valve locked in the closed position will not give the furnace the necessary fuel.
A gas valve stuck in the open position isn’t a good thing either; it will continually provide fuel into the furnace burners, even when there’s no need as the furnace is turned off. When the thermostat identifies a low-temperature request, it will send the signal to the furnace’s circuit board. The circuit board will send that signal to the other components, gas valve, blower motor, and ignitor included. Should you experience any issues with the gas valve and plan to address it on your own, make sure that there are no regulations in your area about mandatory repairs only by certified technicians.
How should you address the Goodman furnace gas valve replacement?
When you consider that gas valve replacement is the cause of your furnace malfunctioning, you can tackle the task. However, furnaces are complicated devices, so accurately following some steps will ensure success and keep you safe too.
Here are the steps to take for replacing the gas valve on your Goodman furnace:
Make sure you have all the tools and equipment you need for the job.
When you don’t have a toolkit, you should start by buying one. You have numerous options online, so you need the time and patience to select a reliable toolkit. Look for the correct gas valve replacement. When it’s not the proper model, it won’t fit right in your furnace and can cause gas leakage, which is very dangerous.
Be aware that gas valves come in various sizes and brands. Getting a gas valve precisely like the one you have on your furnace is the safest way to go. Check your local Goodman supplier to see if you find the proper model or look online.
Extra tip
Most of the time, everything will go nice and smooth while replacing the gas valve on your furnace. It’s not a bad idea to have the number of a local electrician on speed-dial. Should anything go south all of a sudden, it’s better that you keep everything and everyone safe asap.
Many electricians will provide support right on your phone, so it’s good to know that you have someone to call for help in case of an emergency.
Always begin with turning off the gas supply.
Needless to say, turning off the gas supply is the very first step to take when planning to replace the gas valve on your furnace. Gas leaking into your house is a grave and dangerous matter. You should turn off the gas at the mains and the gas supply to the furnace; you can never be too safe when working around gas-related devices.
Should you sense any gas smell, it’s best to open windows and leave the room and doors for eliminating the odor. An issue with the supply may be the cause when the smell isn’t going away after several minutes. Call an expert and have him come for checking. Gas is deadly, so you should never undermine a leakage issue.
Here are the steps to take
We cannot stress enough about the importance of accurately following the steps when fixing, servicing complicated devices like the furnace. Here’s how to do it right when replacing the gas valve on your furnace:
Step 1
Begin with turning off the circuit breaker on your furnace.
Step 2
Turn off the gas cock knob (it’s the shutoff valve on the gas pipe), and get an adjustable wrench to turn the gas cock knob counterclockwise; you should do it until the knob gets at the backstop. The gas cock’s placement is typically regulated by local building codes, but it’s never installed inside the furnace.
Step 3
Continue with detaching the electrical connection of the gas valve. You will have to unplug the wire connector when the wire set on the circuit board utilizes a push-on wire connector. In case the gas valve comes with screw-on wire terminals, you should use some masking tape for tagging every wire. Make sure to write the wire terminal identification label, placed close to the wire terminal, on the appropriate masking tape tag.
Use a slotted screwdriver to loosen the valve’s wire terminal screws, pulling the gas valve’s wires.
Step 4
Get the adjustable wrench again and place it on the union fitting of the gas valve. The union is mounted between the gas valve and the gas cock, so that it makes the connection between the two components of the gas pipe. Utilize a second adjustable wrench for grasping the gas pipe union nut, while using the first wrench to hold the union fitting. Use the other wrench for turning the union nut counterclockwise until the nut will come out of the fitting.
Step 5
Use the adjustable wrench so that the gas valve doesn’t move and a pipe wrench gripping the intake gas pipe. The gas pipe between the union and the gas valve, which is the intake pipe, should be turned counterclockwise. Place it within reach afterward.
Step 6
Continue withholding the pipe attached to the valve’s output port (it’s the pipe feeding fuel to the burners) with a pipe wrench. Get an adjustable wrench for turning the current gas valve counterclockwise, removing it from the furnace.
Tip
You can never be too sure, so check once again if the new gas valve matches the current valve’s identification labels. You shouldn’t replace it with the new valve if they’re not matching.
Step 7
Protect the threads with some gas-approved pipe thread compound; make sure that no compound will get inside your gas pipe.
Step 8
Now it’s time to switch the new output port clockwise onto the burners’ gas pipe threads. You may use your hands to tighten the gas valve. It would help if you moved the pipe wrench onto the gas pipe, using an adjustable wrench when turning the valve one full revolution (minimum). Once the valve it’s in the upright position, you should stop turning the valve.
Step 9
Use again pipe thread compound for protecting the threads on the gas pipe connecting to the intake port. Place the threads into the intake port, hand-tightening the gas pipe. Utilize an adjustable wrench to maintain he gas valve steady and the pipe wrench for leverage while you’re tightening the gas pipe.
Step 10
Move the union nut of the gas pipe onto the union fitting, using your hands for tightening the union nut. Make sure to maintain the union fitting in place with an adjustable wrench while using a second adjustable wrench for tightening the union nut.
Step 11
As you’re closer to completing the replacement, you also have to replace the electrical connection. If it’s a push-on electrical connection, you will need to align the wire connector with the gas valve’s wire terminals. Pressing the connector onto the gas valve is also needed.
Should the gas valve come with screw-on wire terminals, you will need to place every wire into the designated wire terminal, tightening the airport with the slotted screwdriver. Every masking tape tag has to match the gas valve’s wire terminal description name.
Step 12
Now it’s time to turn on the gas cock, ensuring no gas leaks. Please don’t skip any leaking fittings and tighten them all. Complete the replacement by turning on the circuit breaker on your furnace and making the gas valve adjustments the way the manufacturer’s instructions state.
We can definitely connect you with a trusted provider in your area to repair, replace or maintain your heating and A/C systems. Why not let us find a professional for you?


