As long as the Trane thermostat is working as expected, you shouldn’t worry about having to remove its cover. Some models have the battery compartment behind the cover and you will need to remove the cover to replace the batteries. When your thermostat doesn’t run correctly or when it displays a “low battery” message on the screen of your digital thermostat, you will need to change the batteries.
When you troubleshoot your Trane thermostat or clean the interior, you will also have to remove the cover. Maybe you need to verify the thermostat wiring to see if all the wiring is connected as it should. Should you not solve the issue with basic troubleshooting, you must contact an HVAC technician for further investigation. Additionally, if it’s time you replace the Trane thermostat, you will definitely have to remove its cover to disconnect and remove it.
How to remove the Trane thermostat cover
First, you should always begin removing the Trane thermostat cover by shutting off the power to your thermostat. Flip the breaker that powers your HVAC system, especially if you intend to verify or check out the wiring. See if the power is turned off before continuing.
Here are the steps to take to remove your thermostat’s cover:
- Take a look at your thermostat. You should see two tabs on the top.
- Use a little tool and stick it under one tab. You will see how the plate starts to come off. It would help if you did the same with the other tab.
- The plate will pop right off.
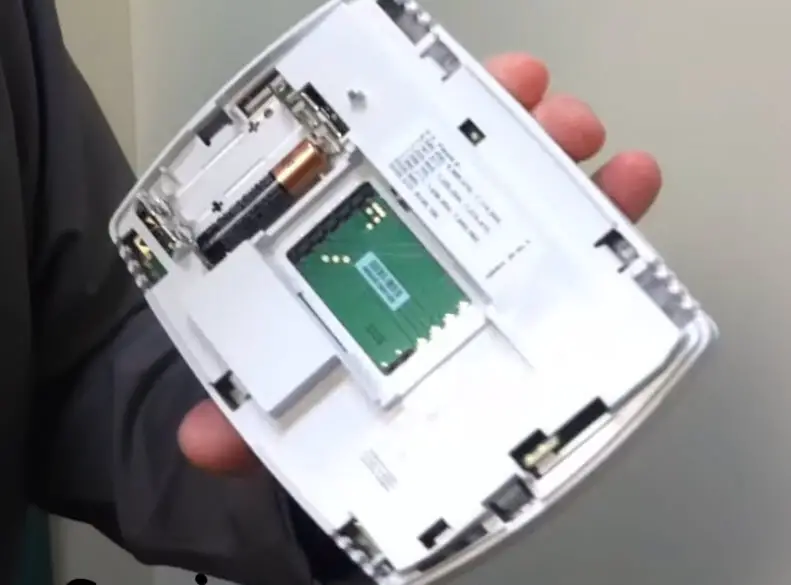
- Please take a look at the pins in there as you need to wiggle them to take it out
- Take the plate face-off and remove the thermostat
- Once the cover pops off the wall, the power should die off (if you haven’t already shut it down).
Please take into consideration the following recommendations when removing the Trane thermostat cover:
- Don’t pull too hard to detach the base from the wall. When the cover doesn’t separate from the base easily, you need to use a screwdriver or press a button or a latch to release it.
- Once you remove the cover, the thermostat base is supposed to remain attached to the wall
- The wires should be coming through the wall and be attached to the terminals of the Thermostat’s base. Please remember that not all terminals will come with attached wires.
- If you don’t see wires coming from the wall and attaching to the Thermostat terminals, there should be an additional plate. You will also have to remove that.
- Use a screwdriver to remove the secondary plate. After removing the additional plate, the wires should be visible.
- If you notice any heavy wires or wire nuts with 120V AC labels, don’t continue. You will have to contact your certified HVAC technician for further investigation.


